HTTP/2 については以下がとてもとても参考になりました
HTTP/2時代のウェブサイト設計
WEB前提
・ユーザのバンド幅が変わってもページロード時間は早くならない(1.6Mbpsで打ち止め)
→レイテンシが小さいほどページロード時間が早くなる
レイテンシを小さくするためには
多重通信 or レイテンシ自体がなくなる ことが必要
・HTTP/1.1は多重性がない
厳密に言えば、仕様はあるが現実的ではない
・これ以上のレイテンシ減少は光ファイバの制約上難しい
HTTP/2とは
上記問題を解決するためのプロトコル
バイナリプロトコルだがh2iコマンドを利用することでやり取りを確認できる
小さなリクエストが大量時にメリットあり
以下URLより複数画像を表示する場合、高速化されていることがわかる
Compare resource loading between HTTP/2 (H2O) and HTTP/1.1 (Nginx)
HTTP/2ではレイテンシは最小限に抑えられ、結果的にバンド幅がボトルネックになるため
高速化するためには転送データ量を減らすべし
h2oとは
・2014年夏より開発されている、先進的な HTTP/2 サーバ(ディー・エヌ・エー発)
・現段階のソフトだと一番優秀。次点nghttp2
(他のソフトだと優先度制御でうまく処理できない可能性が)
インストール
root@ubuntu14:/usr/local/src# cat /etc/lsb-release
DISTRIB_ID=Ubuntu
DISTRIB_RELEASE=14.04
DISTRIB_CODENAME=trusty
DISTRIB_DESCRIPTION="Ubuntu 14.04.3 LTS"

root@ubuntu14:/usr/local/src# aptitude install git build-essential cmake libssl-dev libyaml-dev
...

root@ubuntu14:/usr/local/src# git clone git://github.com/h2o/h2o.git
Cloning into 'h2o'...
...

root@ubuntu14:/usr/local/src# cd h2o/
root@ubuntu14:/usr/local/src/h2o# cmake .
...
root@ubuntu14:/usr/local/src/h2o# make
...
root@ubuntu14:/usr/local/src# h2o/h2o --help
h2o version 1.5.0-beta3

Usage:
  h2o [options]

Options:
  -c, --conf FILE    configuration file (default: h2o.conf)
  -m, --mode <mode>  specifies one of the following mode
                     - worker: invoked process handles incoming connections
                               (default)
                     - daemon: spawns a master process and exits. `error-log`
                               must be configured when using this mode, as all
                               the errors are logged to the file instead of
                               being emitted to STDERR
                     - master: invoked process becomes a master process (using
                               the `share/h2o/start_server` command) and spawns
                               a worker process for handling incoming
                               connections. Users may send SIGHUP to the master
                               process to reconfigure or upgrade the server.
                     - test:   tests the configuration and exits
  -t, --test         synonym of `--mode=test`
  -v, --version      prints the version number
  -h, --help         print this help

Please refer to the documentation under `share/doc/h2o` (or available online at
http://h2o.examp1e.net/) for how to configure the server.
設定
root@ubuntu14:/usr/local/src# mkdir /etc/h2o
root@ubuntu14:/usr/local/src# cp h2o/examples/h2o/h2o.conf /etc/h2o/
root@ubuntu14:/usr/local/src# vi /etc/h2o/h2o.conf
# to find out the configuration commands, run: h2o --help
listen: 80
hosts:
defaultt:
paths:
/:
file.dir: /var/www
access-log: /var/www/access.log
### configチェック ###
root@ubuntu14:/usr/local/src# h2o -c /etc/h2o/h2o.conf -t
configuration OK
root@ubuntu14:/usr/local/src# cp -Rp h2o/share/h2o /usr/local/share/ # daemonとして起動のために必要
root@ubuntu14:/usr/local/src# cp h2o/h2o /usr/sbin/
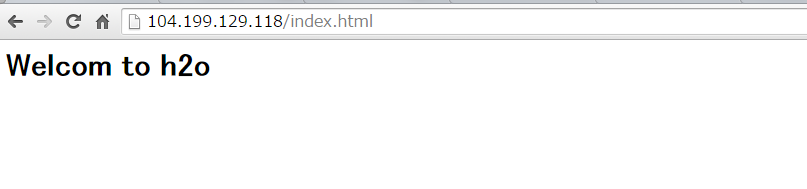
root@ubuntu14:/usr/local/src# vi /var/www/index.html
<h1>Welcom to h2o</h1>
root@ubuntu14:/usr/local/src# h2o -m daemon -c /etc/h2o/h2o.conf
start_server (pid:3110) starting now...
root@ubuntu14:/usr/local/src# ps afx | grep h2o
3144 pts/2 S+ 0:00 \_ grep --color=auto h2o
3112 ? S 0:00 perl -x /usr/local/share/h2o/start_server --log-file=/var/www/error.log --daemonize --port=0.0.0.0:80 -- h2o -c /etc/h2o/h2o.conf
3113 ? Sl 0:00 \_ h2o -c /etc/h2o/h2o.conf
3114 ? S 0:00 \_ perl -x /usr/local/share/h2o/annotate-backtrace-symbols
アクセスすると
アクセスログは
[clientIPaddress] - - [22/Sep/2015:17:16:10 +0900] "GET /index.html HTTP/1.1" 200 23 "-" "Mozilla/5.0 (Windows NT 6.1; WOW64) AppleWebKit/537.36 (KHTML, like Gecko) Chrome/45.0.2454.93 Safari/537.36"
[clientIPaddress] - - [22/Sep/2015:17:16:11 +0900] "GET /favicon.ico HTTP/1.1" 404 9 "http://104.199.129.118/index.html" "Mozilla/5.0 (Windows NT 6.1; WOW64) AppleWebKit/537.36 (KHTML, like Gecko) Chrome/45.0.2454.93 Safari/537.36"
高速化のための設定
別サーバからabコマンドを利用する
ab -n 10000 -c 1000 http://104.199.129.118/index.html
初期
Requests per second: 913.69 [#/sec]
設定変更
# to find out the configuration commands, run: h2o --help

listen: 80
error-log: /var/www/error.log
# 自動でCPU数をみてスレッド数を設定する。以下のように手動で設定することも可能
num-threads: 2
max-connections: 10240
num-name-resolution-threads: 1

hosts:
   defaultt:
    paths:
      /:
        file.dir: /var/www
    access-log: /var/www/access.log
Requests per second: 1572.15 [#/sec]
「できるだけデフォルトを最適な形で提供しようとしている」らしくチューニングポイントは少ないとのこと
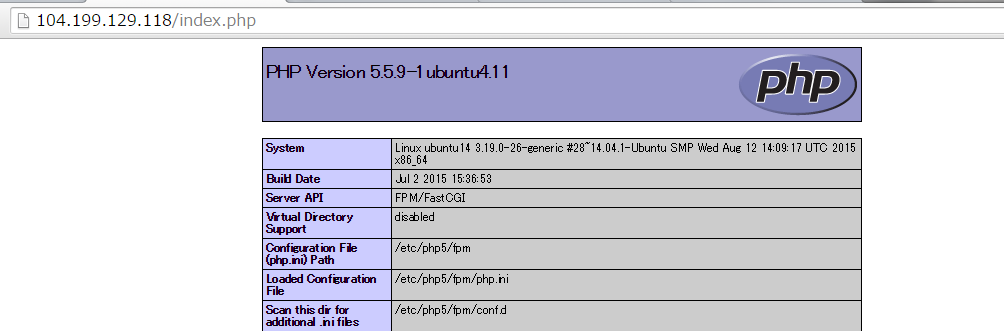
with PHP
# to find out the configuration commands, run: h2o --help

listen: 80
error-log: /var/www/error.log
# 自動でCPU数をみてスレッド数を設定するが手動で設定することも可能
num-threads: 2
max-connections: 10240
num-name-resolution-threads: 1

hosts:
   defaultt:
    paths:
      /:
        file.dir: /var/www
    access-log: /var/www/access.log

file.custom-handler:
  extension: .php
  fastcgi.connect:
    host: 127.0.0.1
    port: 9000
    type: tcp
※php-fpmを9000ポートで起動済みとする
アクセスするとPHPが実行された
Unix Socketも利用可能
file.custom-handler:
  extension: .php
  fastcgi.connect:
    host: 127.0.0.1
    port: /tmp/fcgi.sock
    type: unix
※fastcgi.spawnを利用するとH2Oがphpを起動、管理する
参考URL
HTTP/2時代のウェブサイト設計
HTTP/2時代のウェブサイト設計
H2O HTTP serverをちょっとだけ使ってみた
nginxのパラメータチューニングとh2o
H2O
新、PHPとH2OをfastCGIでつなぐ話、解決編
H2OとPHPの話
HTTP ベンチマークツール wrk の使い方..利用していないがメモ..